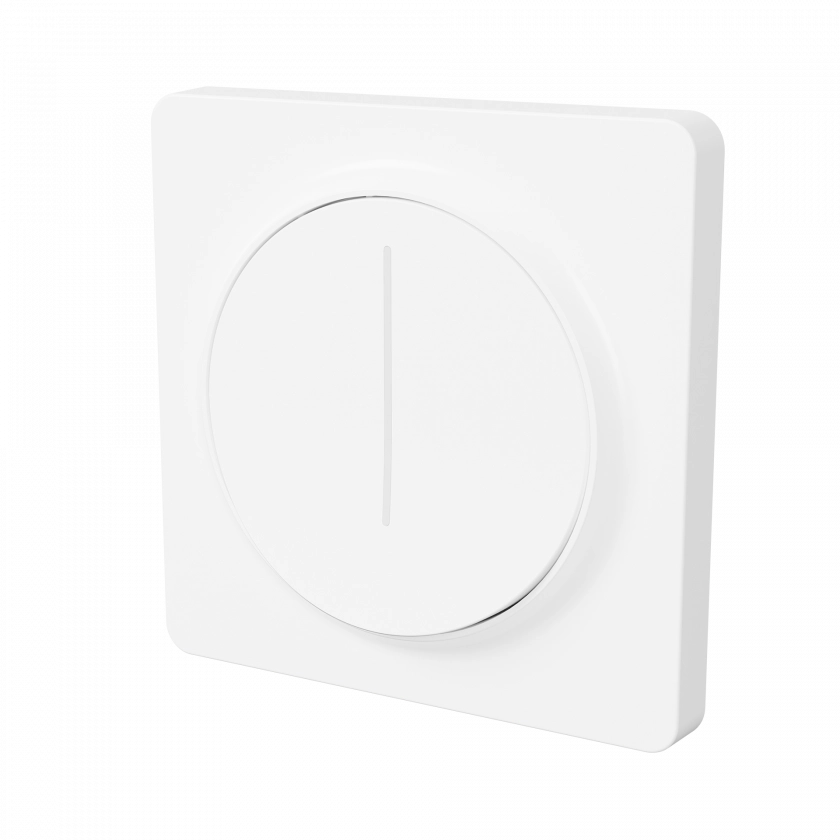
The device
The TESLA Smart Switch Dimmer Touch is another brand of the Tuya EDM-01AA-EU smart dimmer based on the WB3S and TuyaMCU WiFi module.
You can find a detailed documentation of the hardware here.
Flashing
The device can be flashed with ESPHome, allowing it to run completely locally without any cloud connections.
The device I have luckily shipped with an older v1.1.71 firmware that can be flashed using
Tuya Cloudcutter without opening up the device.
To flash the device with ESPHome one just needs to:
- Follow the instructions to setup tuya-cloudcutter
- Run the tool with
sudo ./tuya-cloudcutter.sh - From the menu select the device using the firmware version
- Then flash the provided ESPHome-Kickstart image onto it
- Alternatively the final image can be built using the example below, and flashed instead of the Kickstart one
ESPHome configuration example
After flashing the ESPHome-Kickstart image we can use the following ESPHome configuration to create the final firmware for the device. (The config we need is very similar to the one used for the Moes Rotary Dimmer Switch)
esphome:
  name: wall-dimmer-touch
  friendly_name: Wall Dimmer Touch

bk72xx:
  board: wb3s

# Enable logging
logger:

# Enable Home Assistant API
api:

ota:
  - platform: esphome

wifi:
  ssid: !secret wifi_ssid
  password: !secret wifi_password

  # Enable fallback hotspot (captive portal) in case wifi connection fails
  ap:
    ssid: "Wall-Dimmer-Touch"

captive_portal:

uart:
  rx_pin: RX1
  tx_pin: TX1
  baud_rate: 115200

# Register the Tuya MCU connection
tuya:

# Main light entity
light:
  - platform: "tuya"
    id: dimmer
    name: "Wall Dimmer"
    dimmer_datapoint: 2        # Brightness
    switch_datapoint: 1        # On/Off
    min_value: 10              # adjust if min brightness is too high/low
    max_value: 1000            # DP2 scale (check by dimming in app/original fw)


# Minimum brightness (user adjustable)
number:
  - platform: "tuya"
    id: min_brightness
    name: "Min Brightness"
    number_datapoint: 3
    min_value: 0
    max_value: 1000
    step: 10
    entity_category: config

select:
  - platform: "tuya"
    id: load_type
    name: "Load Type"
    enum_datapoint: 4
    options:
      0: "LED"
      1: "Incandescent"
      2: "Halogen"
    entity_category: config

  - platform: "tuya"
    id: indicator_led
    name: "Indicator LED"
    enum_datapoint: 21
    options:
      0: "On"
      1: "Follow Load"
      2: "Off"
    entity_category: config
After we built the image we can flash it Over-the-Air by following these steps:
- Connect to the
Kickstart-bk7231AP of the device - Navigate to
http://192.168.4.1and use it to flashfirmware.uf2from the build directory